If you have a separate motion graphics designer for your app, chances are that they provided their animations to you in the form of a lottie file. Luckily, integrating and configuring these files in Flutter is very easy, thanks to the lottie package available on pub.dev. In this article, we will see through an example how a lottie animation can be integrated into your flutter app.
Step 1: Add the lottie package in your pubspec.yaml
lottie: ^1.4.3Step 2: Add the lottie JSON in the assets directory.
I have created a separate directory called lottie within the assets directory for storing all the JSONs. Thus, the path to each file will be ‘assets/lottie/<anim_name>.json’.
If you are creating the lottie directory for the first time, make sure to mention it pubspec.yaml.
flutter:
  uses-material-design: true

  # To add assets to your application, add an assets section, like this:
  assets:
   - assets/lottie/
Step 3: Modifying the dart file containing the animation
First, import the package in the relevant file.
import 'package:lottie/lottie.dart';Next, define an animation controller for your lottie animation. This steps also entails the necessary changes to your class for supporting animation controllers, like adding ‘with SingleTickerProviderStateMixin’ in the class definition, and disposing the controller in the dispose function. Finally, the animation is added using the Lottie.asset() function which returns a Widget. The code below shows a basic reproducible Lottie Animation app. The animation used is a slightly modified version of the mic animation available on lottiefiles.com.
import 'package:flutter/material.dart';
import 'package:lottie/lottie.dart';

void main() {
  runApp(const MyApp());
}

class MyApp extends StatelessWidget {
  const MyApp({super.key});

  @override
  Widget build(BuildContext context) {
    return MaterialApp(
      title: 'Lottie Demo',
      theme: ThemeData(
        primarySwatch: Colors.blue,
      ),
      home: const MyHomePage(title: 'Lottie Demo Home Page'),
    );
  }
}

class MyHomePage extends StatefulWidget {
  const MyHomePage({super.key, required this.title});

  final String title;

  @override
  State<MyHomePage> createState() => _MyHomePageState();
}

class _MyHomePageState extends State<MyHomePage> with SingleTickerProviderStateMixin {
  late AnimationController lottieController;

  @override
  void initState() {
    lottieController = AnimationController(vsync: this, duration: Duration(seconds: 2));
    lottieController.repeat(reverse: true);
    super.initState();
  }

  @override
  void dispose() {
    lottieController.dispose();
    super.dispose();
  }

  @override
  Widget build(BuildContext context) {
    return Scaffold(
      backgroundColor: Colors.black,
      appBar: AppBar(
        title: Text(widget.title),
      ),
      body: Center(
        child: Column(mainAxisAlignment: MainAxisAlignment.center, children: <Widget>[
          const Text(
              'Lottie Demo',
              style: TextStyle(
                  color: Colors.white,
                  fontSize: 24
              )
          ),
          Container(height: 10),
          Lottie.asset(
              "assets/lottie/mic_animation.json",
              animate: true,
              width: 100,
              height: 100,
              reverse: true,
              repeat: true,
              controller: lottieController
          ),
        ]),
      ),
    );
  }
}
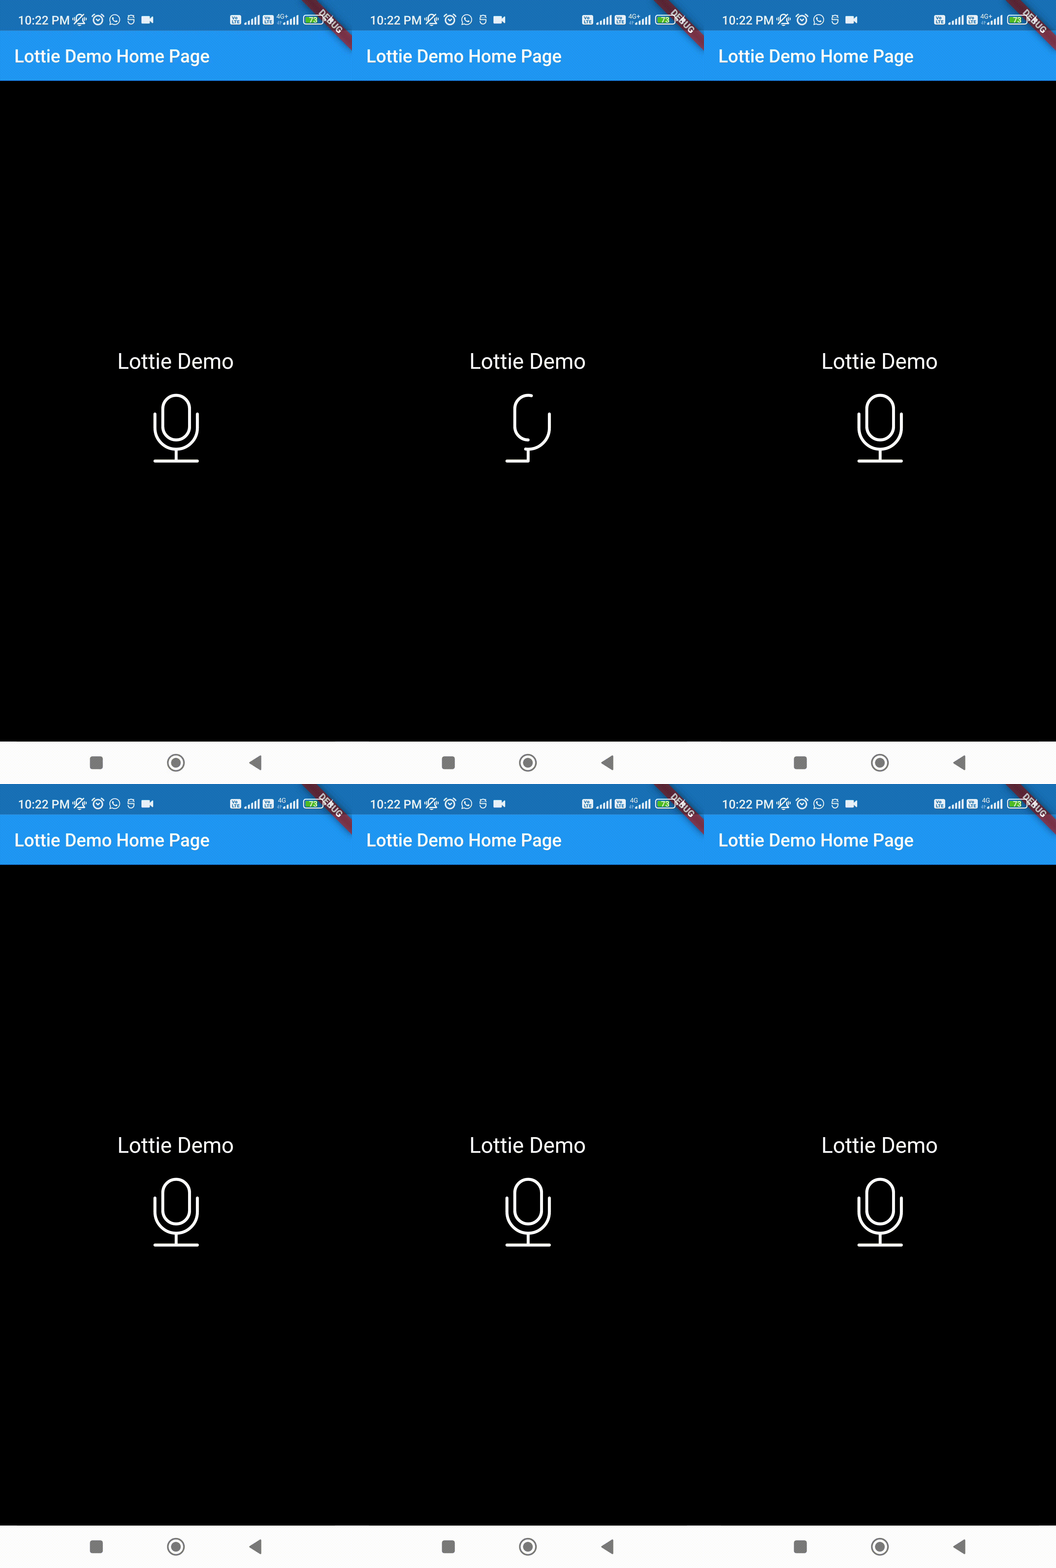
The output of the code is:

As you can see from the code, several aspects of the animation can be controlled by the arguments of Lottie.asset() itself. These include the repeatability and reversibility of the animation, which controller to use for the animation and so on. The exhaustive list of arguments can be found in the API reference.
As you can see, lottiefiles make your app much more lively and good looking, and integrating them in your app is fairly easy, thanks to the lottie package available for Flutter.
If you liked this article, then checkout other articles on https://iotespresso.com.
