In order to get started with PostgreSQL, it is best to have a hosted DB with you. Follow the following steps to get your first hosted DB on Heroku:
Step 1: Head on to https://signup.heroku.com/login and create a free account
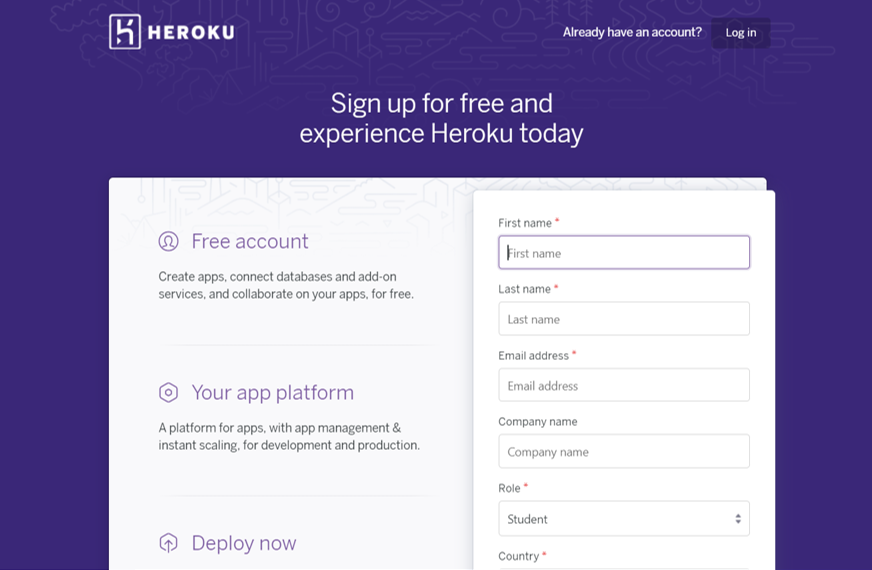
You’ll receive a verification email. Set a password once you verify your email
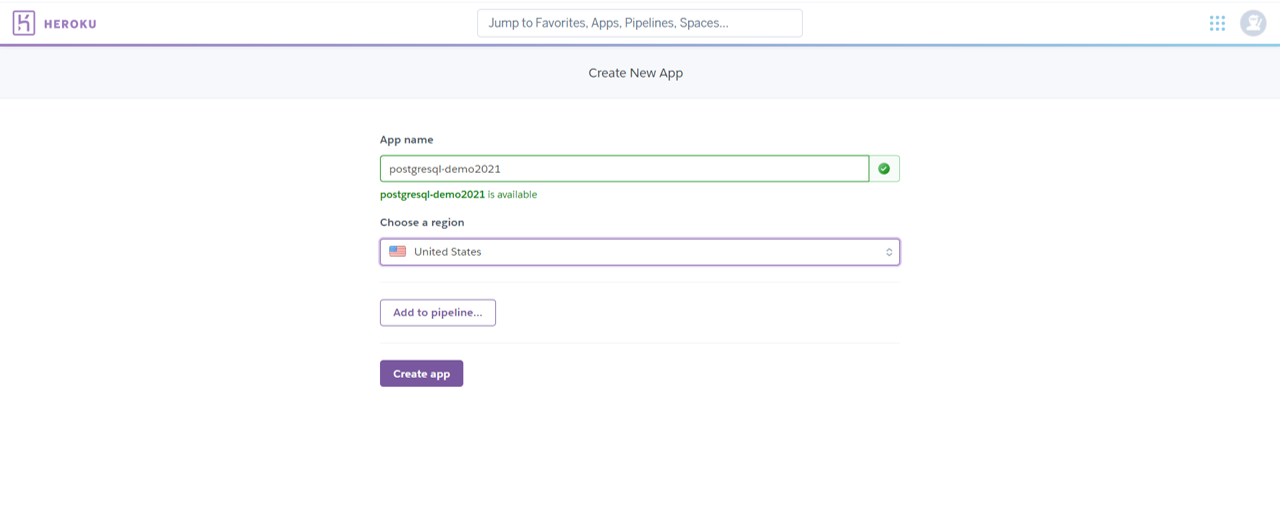
Step 2: Once you log in, click on ‘Create new app’
Give it a suitable name. I’ll call it postgresql-demo2021. Also, choose a region for your app and click on ‘Create app’
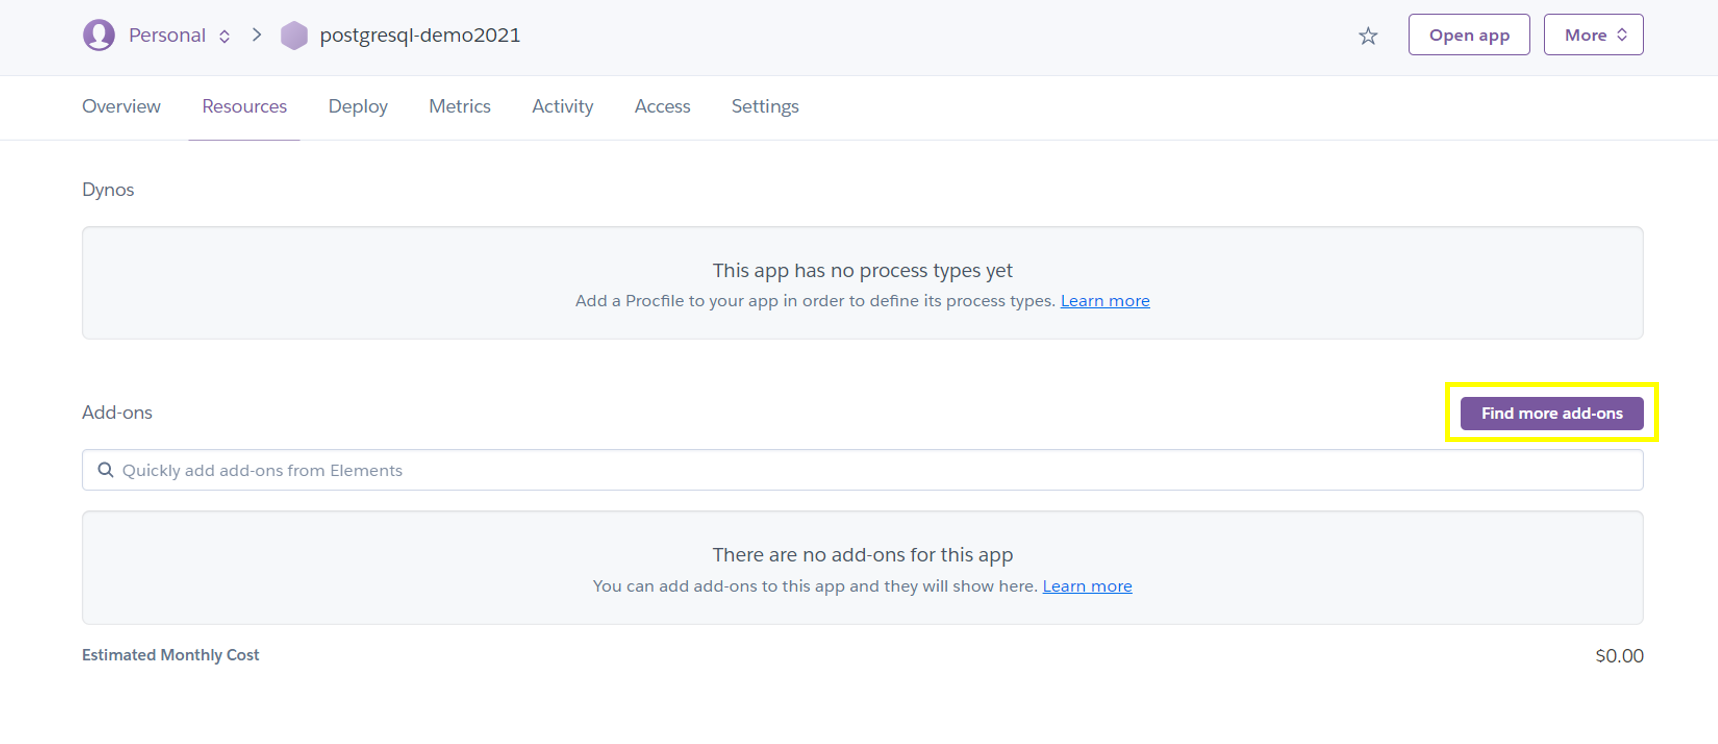
Step 3: Go to the Resources tab and click on ‘Find more add-ons’
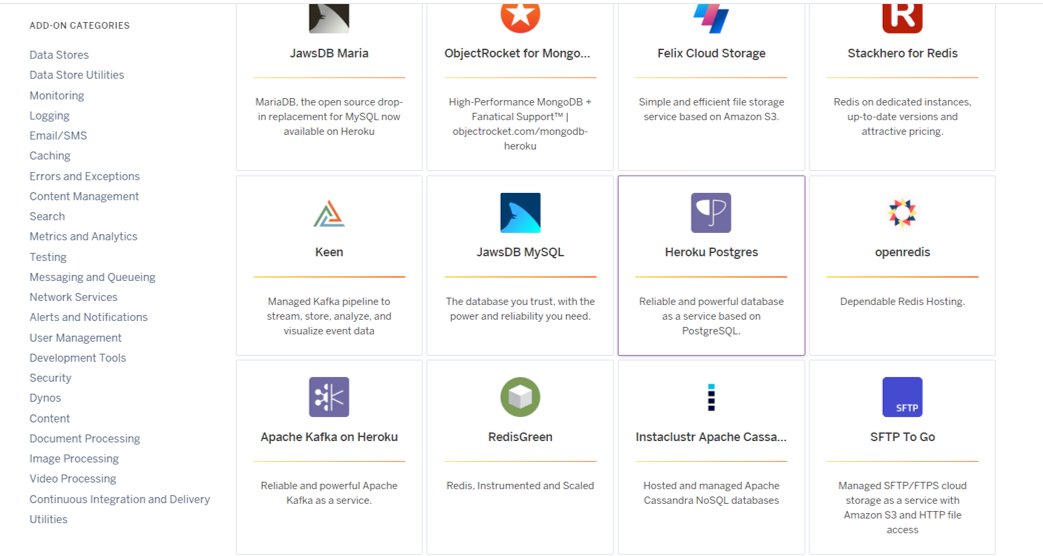
Search for, and select Heroku Postgres
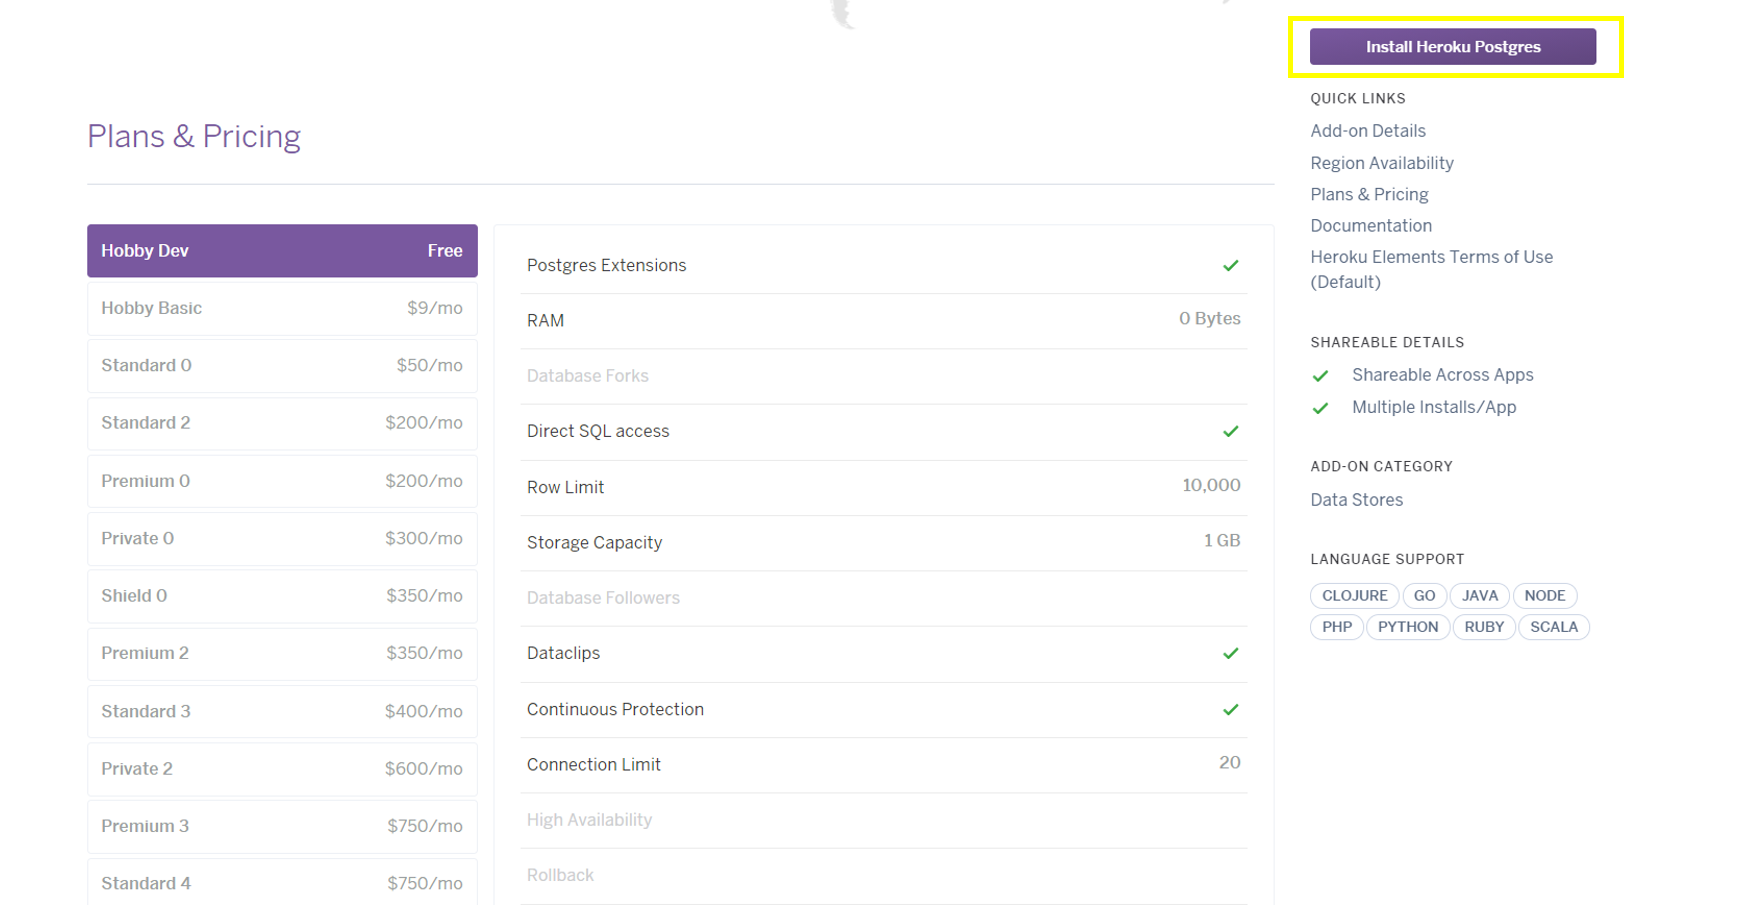
Step 4: Select the plan and install Heroku Postgres
You’ll get the list of plans. Select Hobby Basic (the free plan) and click on ‘Install Heroku Postgres’. As you can see, you can have a maximum of 10,000 rows across all tables in this plan, and the total storage should not exceed 1 GB. These numbers are sufficient to get started with PostgreSQL.
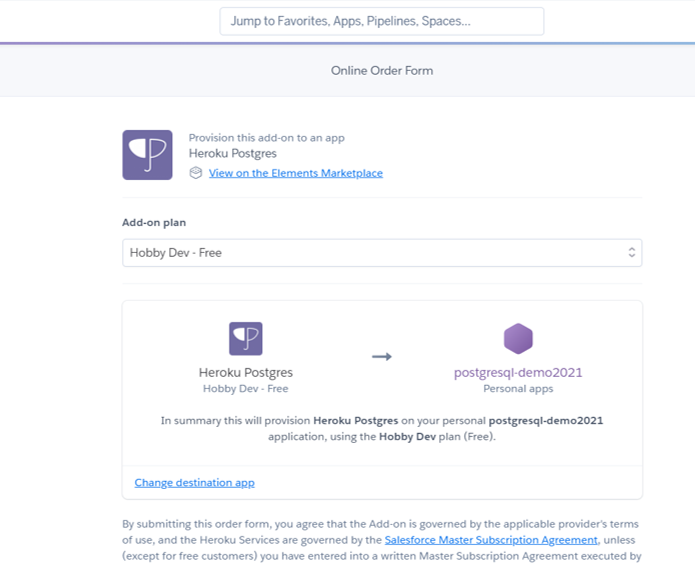
Select the app to provision Heroku Postgres to (the app you just created), and click on ‘Submit Order Form’.
Step 5: Get the credentials of your DB
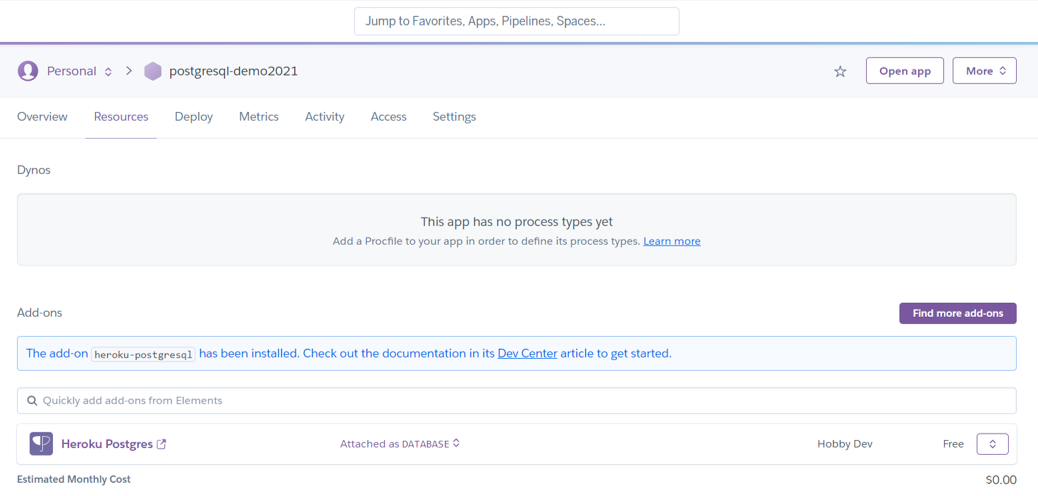
You will now be able to see Heroku Postgres in the list of your add-ons. Click on it.
Go to Settings, and click on ‘View Credentials’
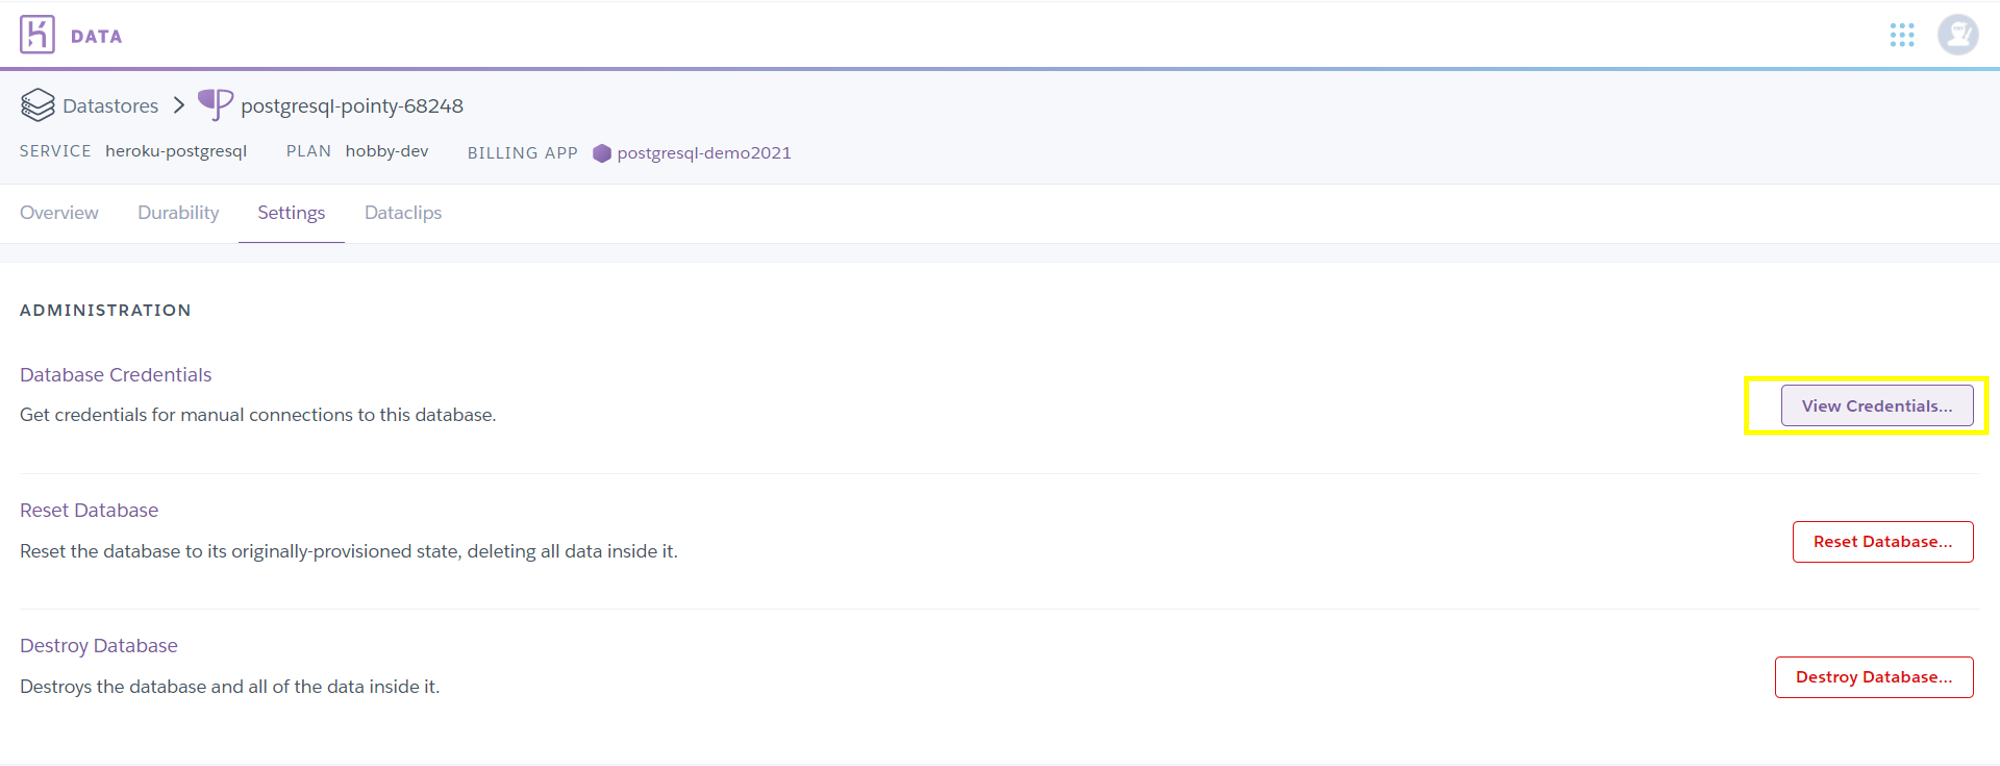
These credentials can now be added to pgAdmin, or any script, to link your DB. The steps to add this DB to pgAdmin are given here.
Congratulations on your first hosted DB. Go ahead and experiment your way into your PostgreSQL journey.
Found this post helpful? Then check out further posts on iotespresso.com. Also, follow IoT Espresso on Twitter to get notified about every new post.
1 comment